Best Christmas Dinner Ever: Prime Rib

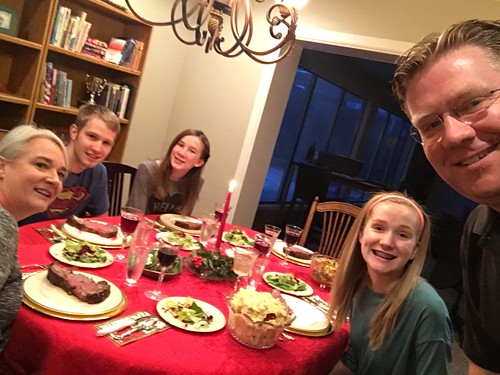
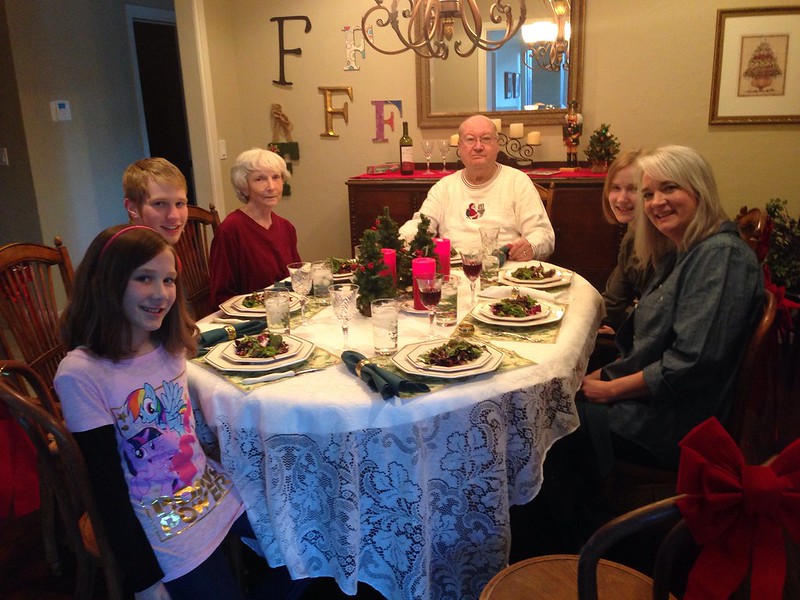
If I’m counting correctly, Christmas 2016 marks the sixth time in my life I’ve been able to cook prime rib for our family for Christmas dinner. I love a good holiday turkey as much as anyone, but NOTHING, and I mean NOTHING, can beat a perfectly cooked prime rib supper. I am extremely thankful our family is able to enjoy food like this together. This year perhaps more than ever before, I am extremely cognizant and appreciative of so many blessings in our lives. We are not millionaires, but sharing a prime rib dinner like this together makes us feel like we are. If you have a chance to eat a meal like this, and to share it with others, count your blessings. In this post I’ll share the few modifications I made to the preparation and cooking steps documented in my 2015 post. I’m sharing this both for my own future reference and to help out others. If this post inspires or helps you in your own prime rib cooking vision quests, please let me know via a comment or Twitter reply to @wfryer.

1- Prime Rib on Sale at Whole Foods

We’re not only fortunate to now live in a city with a Whole Foods grocery store, but also to have them significantly discount the per pound price of prime rib steak on Christmas Eve. We shop at Whole Foods only about four times all year, and always for special occasions and for limited items. (WalMart Neighborhood Market is my normal grocery store.) Whole Foods had prime rib discounted this year on Christmas Eve from about $17 per pound to $12 per pound. For 3 ribs, about 7.8 pounds, we paid $94. This is a $40 savings off the “normal” price. This is a huge amount of money to pay for a piece of meat, but this was for a very special occasion, and the taste in the end was worth every penny. I’m thankful for the sale price. Eating a great prime rib at home starts with buying top quality meat.

2- Digital Probe Thermometer

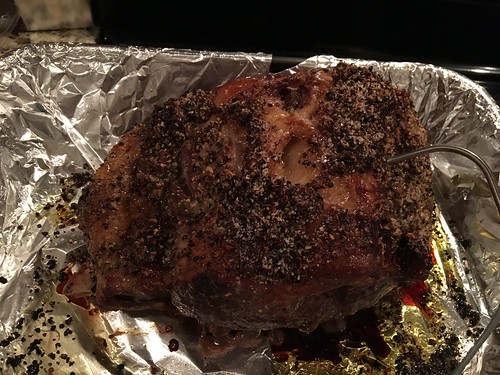
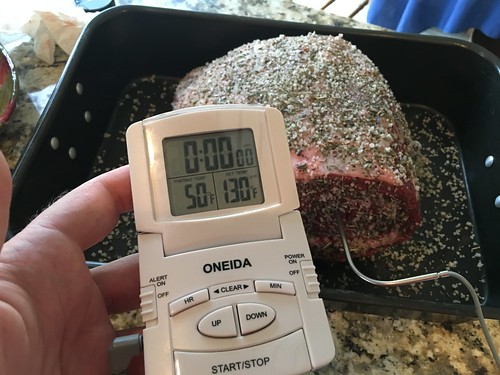
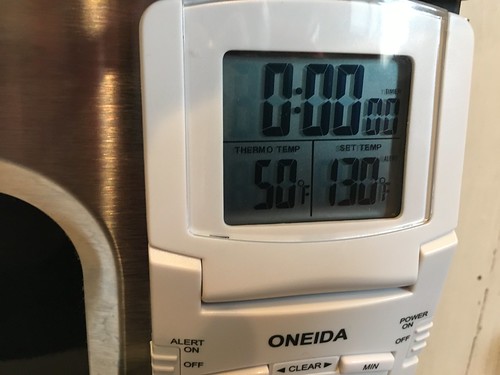
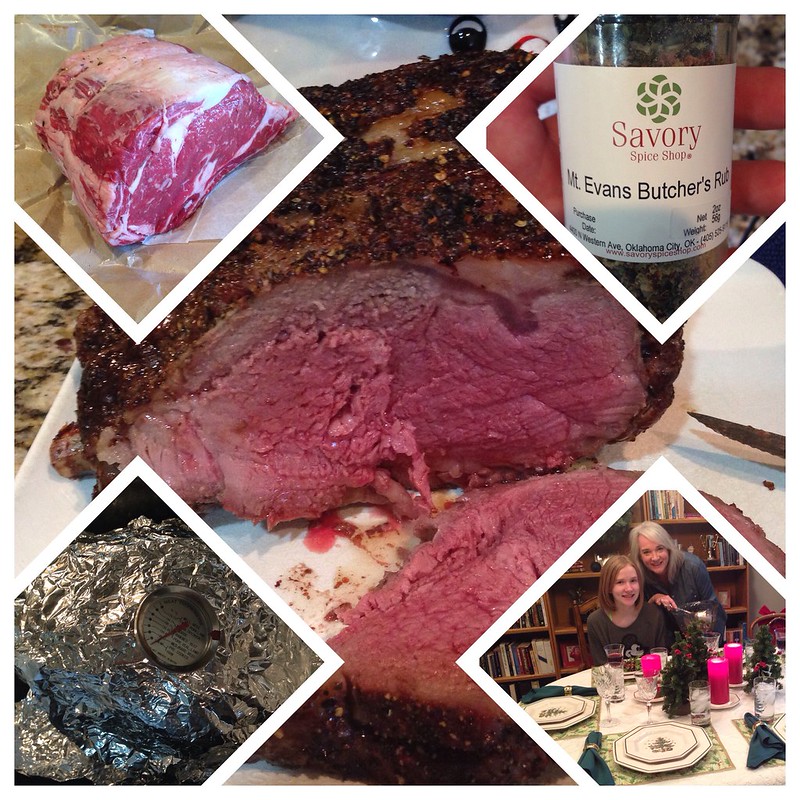
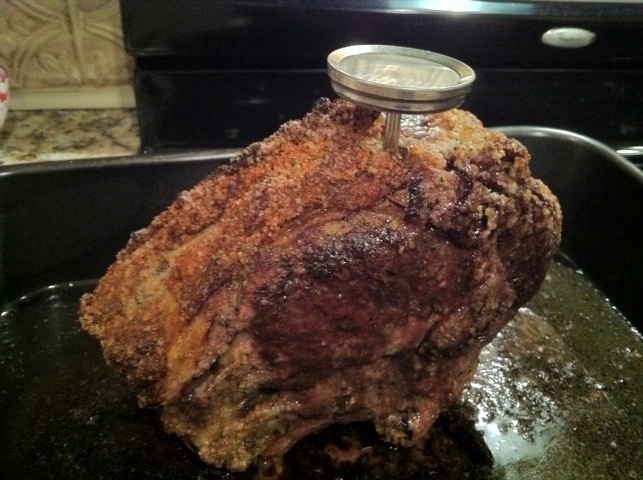
As I noted in my 2015 post about cooking prime rib, a digital probe thermometer is absolutely essential. This is the number one thing I’ve learned to use in the past three years which has helped me cook great tasting prime rib that is perfectly cooked, and not too rare. The $20 “Oneida Digital Probe Cooking Thermometer with Timer” from Bed, Bath and Beyond is my tool of choice in this category. I was lucky to have an extra AAA battery in my work backpack, since last year’s battery had gone dead. Like last year, my cooking procedure was:

  1. Cook uncovered 15 minutes at 450 degrees
  2. Turn down the oven to 325 degrees and keep cooking
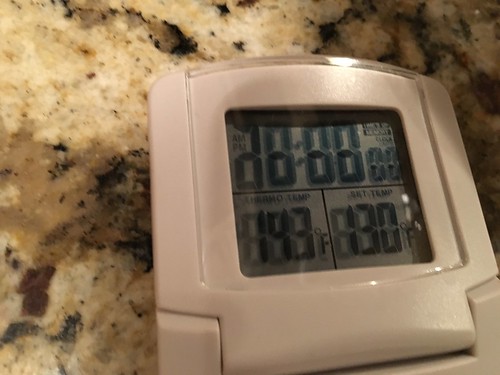
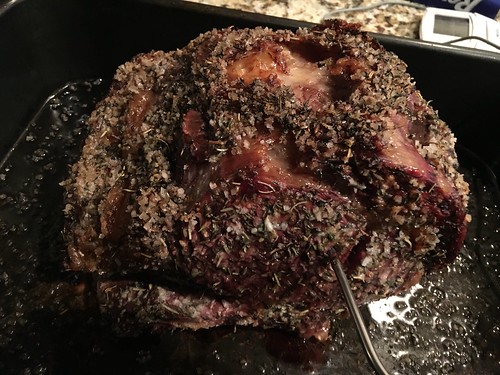
  3. Remove prime rib when the interior temperature reaches 130 degrees (This year it took 1 hour and 40 minutes, about 15 minutes less than in 2015. I think that is because I got the prime rib out of the fridge about 4 hours before I cooked it, which let it more fully get to room temperature before starting cooking… which is also an essential.)
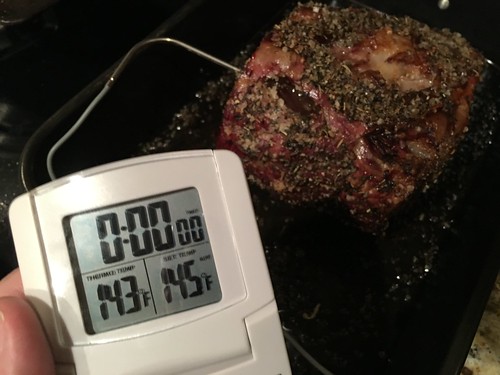
  4. Completely cover the prime rib with foil and let it rest for at least 20 minutes. This year we let ours rest about 30 minutes, until (as we did last year) the interior temperature reached 143 degrees.

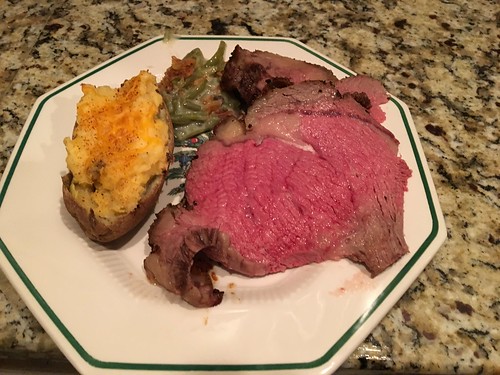
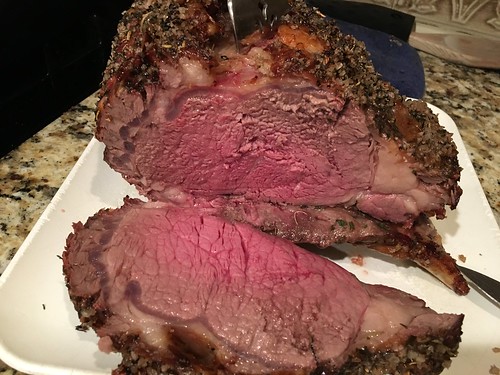
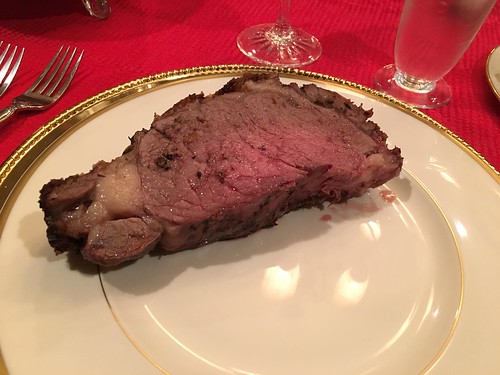
We like our prime rib medium and medium rare, but not rare – and these cooking temperatures were absolutely PERFECT for those requirements.

3- Seasoning Salt Rub

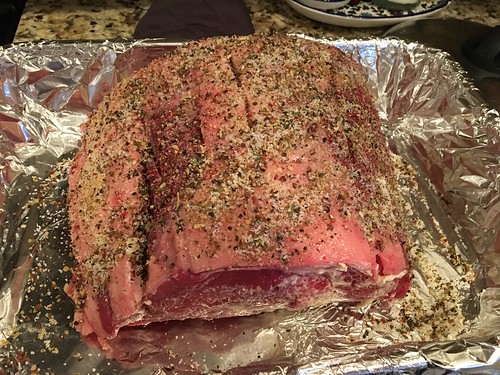
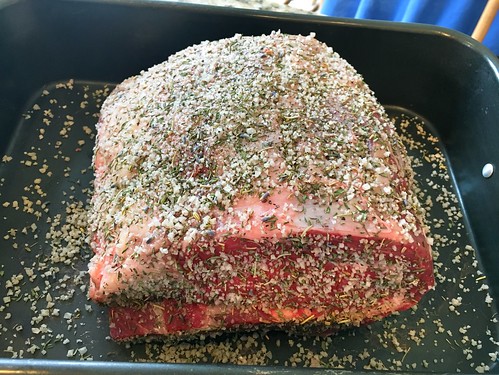
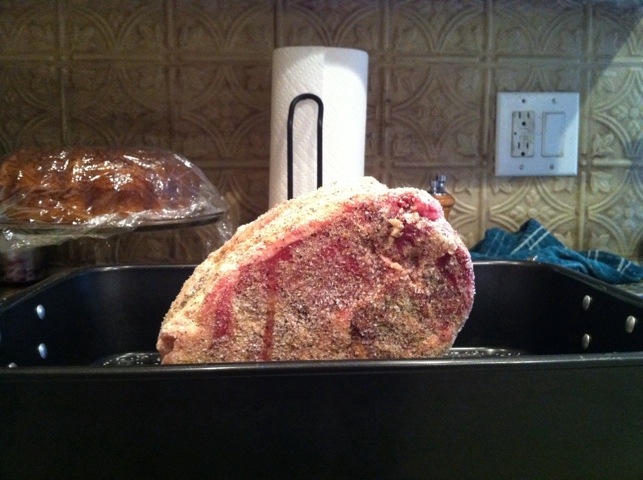
2 years ago I used “Herbes de Provence Seasoning Salt” as a prime rib rub from our Oklahoma City “Savory Spice” store. This year I used three tablespoons of “Mt. Evans Butcher’s Rub” from Savory Spice and three tablespoons of kosher salt as my rub. As recommended by my guiding Prime Steak House recipe, I made several cuts (about 1/4 of an inch deep) around the roast before applying the rub. I also rubbed about a 1/4 stick of soft butter on both ends. I did NOT open the oven to brush the drippings back onto the roast during cooking, as some recommend. It turned out great (again) not doing this. My custom spice rub worked well and tasted great this year, but I’ll probably go back to the “Herbes de Provence Seasoning Salt” next time I cook a prime rib.

4- Carving Smaller Pieces

This year I served the plates in the kitchen and then brought them to the dining room, and carved smaller pieces for everyone than I have in the past. This worked well, and several folks opted for seconds. In the past it’s been a bit overwhelming to have such a huge piece of prime rib on the plates… and I definitely liked serving smaller pieces this year.

5- Creamy Horseradish

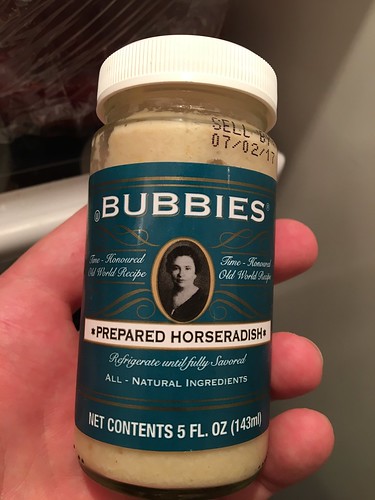
The creamy horseradish sauce this year also turned out really good. I mixed half sour cream and half “Bubbies Prepared Horseradish,” which we also bought at Whole Foods. It tasted amazing and I’d definitely get this brand again and make it the same way.

Bon Appétit!

Perfect Holiday Prime Rib 4.0

This is the fourth time I’ve cooked prime rib for our family for Christmas dinner. My wife thinks tonight was the best meal we’ve ever had at home in almost 20 years of marriage, so whatever we did this time I want to remember and be able to repeat again! In this post I’ll recap what we did, the changes I made from previous times I’ve cooked prime rib, and what I want to do again if and when we have an opportunity to prepare another amazing meal like tonight.

I wrote two previous family learning blog posts about cooking prime rib, back in 2013 and in 2011. Like I did in 2013, I used this recipe from Prime Steak Houses as my primary guide. Here are the three things I did differently this year which helped make this a remarkable prime rib dinner.

1 – Digital Probe Thermometer

One of the Christmas gifts this year I am most excited about is a probe thermometer that shows the temperature inside meat when it is cooking in the oven. My wife and son bought me a Oneida Digital Probe Thermometer with Timer. Bed, Bath and Beyond sells it for $20. The oven thermometer I used previously had a minimum temperature of 140 degrees, but that’s a problem since the Prime Steak House recipe recommends removing the prime rib from your oven when the interior temperature reaches 120 degrees. So in past years, when I removed our prime rib from our oven, I was just guessing that the meat was ready based on recommended cooking times. Unfortunately, ovens can vary considerably in the cooking time they require, and the result in the past has been prime ribs which weren’t cooked long enough. This afternoon after putting a rub on the meat, I put the thermometer probe into the center of the prime rib. Instead of 120 degrees, which is the low end of rare meat, I set the target temperature for 130 degrees. Our prime rib tonight was 6 pounds, so I initially set the timer for an hour and a half of cooking time to follow the initial 15 minutes of cooking at 450 degrees.

This is the cooking procedure and times I ended up using tonight for our 6 pound prime rib:

  1. 15 minutes at 450 degrees (uncovered)
  2. 1 hour, 55 minutes at 325 degrees (uncovered, with no basting, till the internal temperature reached 130 degrees)
  3. Removed from the oven, about 15 minutes covered with foil, until the interior temperature reached 140 degrees. The top temperature it reached after removing the foil covering was 143 degrees, before we served dinner.

2 – Meat at Room temperature

The second thing I did differently this year when cooking prime rib was to get the meat out of our refrigerator about three hours before I started to cook it. This allowed the meat to warm up, closer to room temperature. This is something included in the Prime Steak House recipe, but a step I hadn’t taken the time or care to follow in the past. According to my thermometer, our prime rib started cooking this year at a temperature of 50 degrees.

This is the clear instruction given by the Prime Steak House chefs:

It is crucial that you allow the roast to come to room temperature to ensure even-cooking. This means leaving it out for up to two full hours right before roasting.

3 – Herbes de Provence Seasoning Salt

The third main thing I did differently this year was use a new seasoning for the rub. We have a fantastic store in Oklahoma City called “Savory Spice.” One of the employees there recommended “Herbes de Provence Seasoning Salt” to use as a rub with prime rib. This turned out to be a FANTASTIC idea.

Following the Prime Steak House recipe, I made a series of half-inch cuts in the meat, and rubbed the seasoning salt all over it. before putting it in the oven.

This resulted in some absolutely AMAZING prime rib!


That’s it! Those were the three critical things I did tonight which helped me our prime rib dinner a smashing success. If these tips prove useful to you, please leave a comment or contact me via Twitter @wfryer.

Holiday Prime Rib

This Christmas we ate prime rib for dinner rather than our more traditional turkey or ham main course, and it was delicious. For my own documentation for future years, and in case this is of interest to others who may find their way to this post, here are some details about what I did, my lessons learned, and what I’ll do differently next time.

Christmas Prime Rib

This recipe from Prime Steak Houses was my main guide. It’s been around 5 years since I’ve cooked  a prime rib, and I couldn’t find the friend’s recipe this time that I’d used previously. I did remember it involved initially cooking the prime rib at a high temperature in the oven for a short time, and then lowering the temp for a longer time… and that is what this recipe also directs. We bought and cooked a five pound prime rib, planning for about 3/4 of a pound per person. That worked out great portion-wise. The main change I’d make is to cook it about 15 minutes longer than I did. My meat thermometer starts at 140 degrees, but according to the recipe you need to remove the roast when the interior temp reaches 120. Since my meat thermometer didn’t show the exact temperature that low, I had to guestimate and I guestimated a bit low. After the initial 15 minutes cooking at 450 degrees F, I cooked our prime rib an hour at 325. Next time I’ll use a meat thermometer that shows increments at least down to 120 degrees (hopefully lower) and cook just a bit longer, probably an hour and a half for the same quantity. Rather than remove the prime rib at 120 degrees (as I tried to do this year, and the recipe directed) I’ll remove it at 130 degrees. For the eaters in our family, medium to medium-well prime rib is best.

I will say the aroma of the cooking prime rib in the house was absolutely fantastic. The anticipation of eating excellent meat like this can be almost as good as the actual eating itself.

We have a relatively new spice shop in Oklahoma City on Western, right by the Will Rogers Theater, called the Savory Spice Shop. It’s a chain based in Colorado, and they have some amazing seasonings. I used their “Mount Evans Butcher’s Rub” as my spice rub on our prime rib and it turned out delicious. I highly recommend it, and look forward to also using it on pot roasts in coming months. Per the above recipe link, I rubbed the ends with soft butter and made small, 1/2 inch cuts around the roast before rubbing in the spices.

We love creamy horseradish sauce with prime rib, and I used this recipe to make mine although I used raw horseradish from a bottle rather than fresh. It turned out runnier than I would have liked, probably because of the amount of lemon juice and Worcestershire sauce. Next time I think I’ll just make my own to taste with sour cream and raw horseradish. It was good, but next time I’d like it to be less runny.

To accompany the meat I cooked our family’s traditional mixed vege casserole, cranberry sauce (basic and plain from scratch, the best kind) and mashed potatoes roughly following following this recipe. It was a great meal on an already wonderful and blessed Christmas day with family.

I hope you had a great Christmas are are continuing to enjoy a restful holiday time with family and friends!

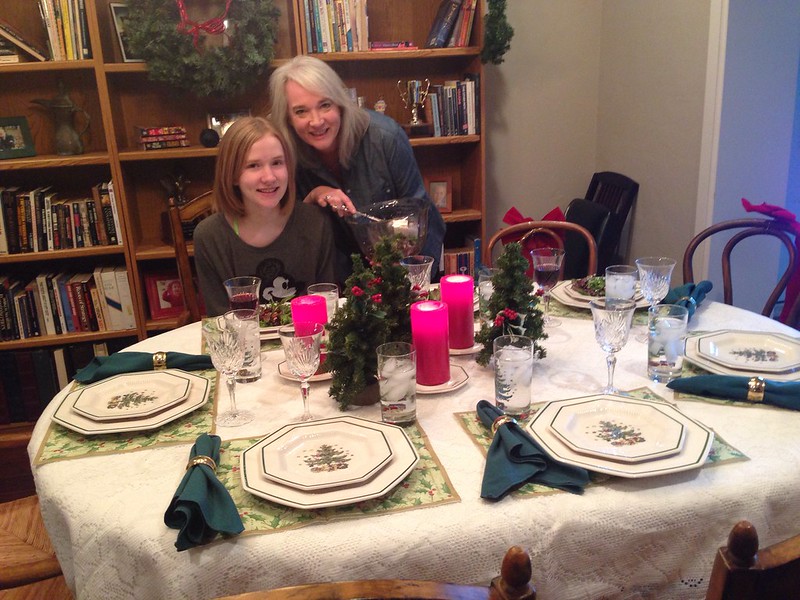
Table set for Christmas dinner

Christmas dinner 2013


Delicious Prime Rib

Tonight for Christmas dinner we cooked prime rib. It turned out delicious! I probably should have left it in the oven about 10 more minutes. Here is some documentation of how I cooked it in case you’re interested, and for my own later reference.

20111225-214226.jpg
This was the recipe I used and modified slightly. We bought 4 pounds of prime rib at Whole Foods, which was 2 bone-in ribs/steaks. We were feeding 7 people. This worked out fine, but I would like to have an extra rib next time for the same number of people.

For the seasoning rub (which turned out amazing) I added some Montreal steak seasoning to the four ingredients included in the recipe: coarse sea salt, onion powder, garlic powder, and pepper. I didn’t baste the sides during cooking. For our 4 pound roast, I cooked it 15 min at 425 degrees and then 1 hour, 15 minutes at 325. The meat thermometer read 130 at the end of the cooking time. I covered it with foil and let it rest for 20 minutes after that. As I said it turned out amazing, but since we had several people who like more well done meat it would have been good to leave it in the oven just a touch longer.

20111225-215239.jpg
I cut it with our electric knife which worked great. To keep the meat hotter before serving, however, next time I’ll try to have all other items ready for our plates before cutting the prime rib.

20111225-215447.jpg

Vision Questing for the Ultimate Backyard Steak

I love to cook and eat steak!

My favorite steak is ribeye, Shelly’s favorite is filet mignon, thanks to some good friends who introduced her to that delicacy shortly after we moved up to Oklahoma City from Lubbock, Texas. From time to time I’ll cook different cuts of steak, but normally that’s pretty standard fare like sirloins. Twice, now, however… we’ve had Brazilian style picanha on skewers, and Shelly thinks it may be her “new favorite” way to enjoy steak. The kids have really enjoyed skewer grilled picanha with chimichurri sauce too! I made a cooking tutorial video for cooking picanha back in January, and it’s my favorite cooking video (of 23 so far!) I’ve made and shared over the years. I also included the recipe I’ve used on our (relatively new) “Fryer and Ward Family Recipes” website.

I’ve been on a bit of a proverbial VISION QUEST to find and buy a new backyard smoker and grill, and in that process I’ve watched LOTS of YouTube videos about cooking generally and meat smoking and grilling specifically. (I have a public YouTube playlist of some of my favorites, if you’re interested.) I’ve been cooking steaks over charcoal on our Weber Kettle grill for almost 25 years now, both direct “hot and fast” cooking as well as indirect charcoal cooking. My main grill speciality has been “grilled chicken thighs,” which is also included on our family recipe website. I could eat those once a week (along with tacos) and be totally happy. I suppose this reveals the general LACK of sophistication of my culinary preferences, but I’m working on this… 🙂

There is a LOT more you can do on a Weber Kettle charcoal grill besides hot and fast and indirect cooking! In the last few months, I have tried techniques like “low and slow smoking” on the Kettle with the “charcoal snake method.” My first attempt at doing this with beef short ribs was NOT a resounding success, but I did learn a lot, and the results were still edible. I made a 9 minute video of those lessons learned, too.

Normally I have purchased our steaks from our local WalMart Neighborhood Market, which I’m sure will shock and disappoint some readers. We have, however, sometimes splurged and purchased grass fed steaks from B.F. Farms. They are based in Enid, Oklahoma, but have a retail outlet in north Edmond about a 30 minute drive from our house. Their beef is AMAZING, but it’s also expensive. I’ve also purchased picha steaks from “The Meat House” in Edmond and from Firebirds Meat Market in NW Oklahoma City. Firebirds is my new favorite butcher shop, but some of their cuts are $$$.

In addition to those meat sources, we’ve been happy “every other month” customers and subscribers to ButcherBox for two years now. Butcherbox sends you a box of high quality meats on the schedule you choose, and it’s EXCELLENT quality. Check them out and if you use this affiliate link, we’ll both get a $30 account credit.

Since becoming a huge fan of COSTCO about a year and a half ago, I’ve really enjoyed cooking and eating their different cuts of meat. Not only beef, but also pork, lamb, and salmon. Our New Year’s Prime Rib this year came from COSTCO. This year’s Prime Rib oven roasting recipe is on our family recipe website, previous years (and there have been several, it’s a HUGE favorite for obvious reasons) are archived here on our family learning blog. My first year to try was 2011, so I’ve been questing for the perfect Prime Rib for a decade now!

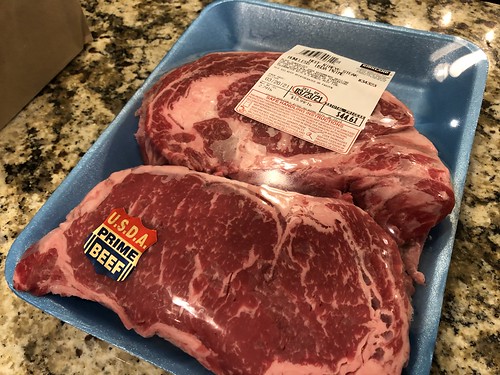
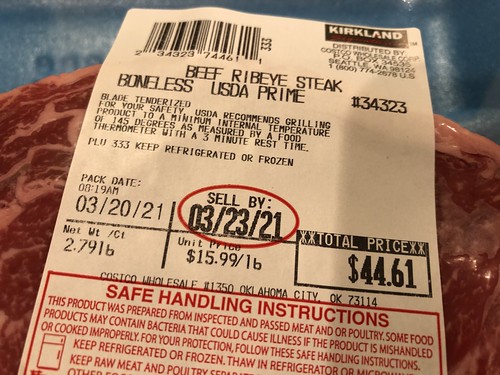
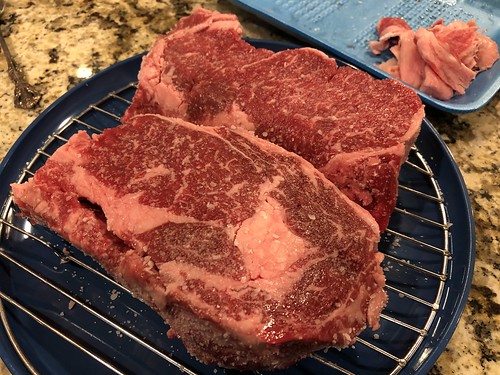
On my most recent visit to COSTCO last week, I picked up the thickest ribeyes I’ve ever purchased. They are “prime” and $16 per pound.

These are not inexpensive, but relative to what these steaks would cost commercially prepared at a local restaurant, I’m sure $45 is a bargain price.

With four of us at the dinner table, I figured we’d just need two of these THICK ribeyes to have a very satisfying entree for dinner. I’m trying several new techniques with these beauties, thanks to the “SnS Grills” video, “How to Perfectly Cook Steak. Reverse Seared Ribeye using Cold Grate Technique,” and those changes are what I’d like to document now.

For the first time, I’ve salted these ribeye steaks in advance the night before I plan to cook them. The video (above) explains that by adding ONLY salt, and doing it the night before, the salt is able to permeate into the meat and will actually help the interior stay more moist during the cooking process. Per the video’s recommendatiions, I’m leaving them UNCOVERED in our fridge overnight on a wire rack. I’m going to dry them off / use paper towels to absorb any moisture from the top before grilling them, and also let them warm to room temperature (about 30 minutes) before grilling them tomorrow night.

When cooking steaks in the past, I’d either season them with “McCormick Grill Mates Montreal Steak Seasoning” about 30 minutes before putting them on the grill, or (in the case of sirloins) marinate them with Mccormick Grill Mates Brown Sugar Bourbon Marinade. Results have been tasty, so I’m eager to see if this “salt with kosher salt the night before” step makes a noticeable difference.

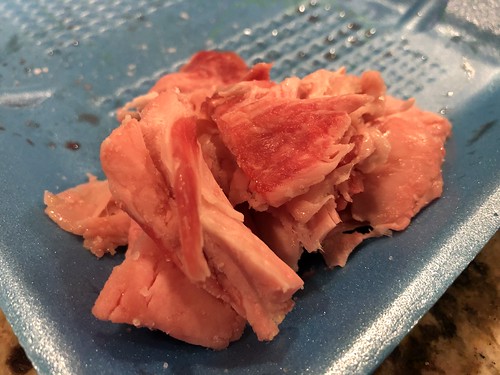
Also following the advice of the video, I trimmed some of the excess fat from the edges of the ribeyes tonight. I have NEVER done this to a steak before, but it makes sense that the outer fat (as opposed to the inner, ‘marbled fat’) doesn’t render fully into the meat during cooking or add to the flavor. In fact, as I’ve learned watching videos about and smoking my own briskets and short ribs, exterior fat can prevent any applied rub or seasoning from penetrating the meat and therefore adding to the flavor of the final, cooked masterpiece. So, these are my first “trimmed ribeyes,” albeit very lightly trimmed.

Eventually I’d love to order a $100 “Slow ‘N Sear Deluxe” to cook on my Weber Kettle, but it’s not required to cook with two cooking zones. I’m going to try and follow the instructions of the SnS video as precisely as I can tomorrow, and expect to cook indirect for about 50 minutes and then sear at the end about 4 minutes.

With a side of cast iron skillet brussel sprouts and loaded baked potatoes, it just might turn out to be a meal to remember! We’ll see and I’ll add some details about the results here afterward!

What are your favorite backyard steak grilling tricks and tips I should try?